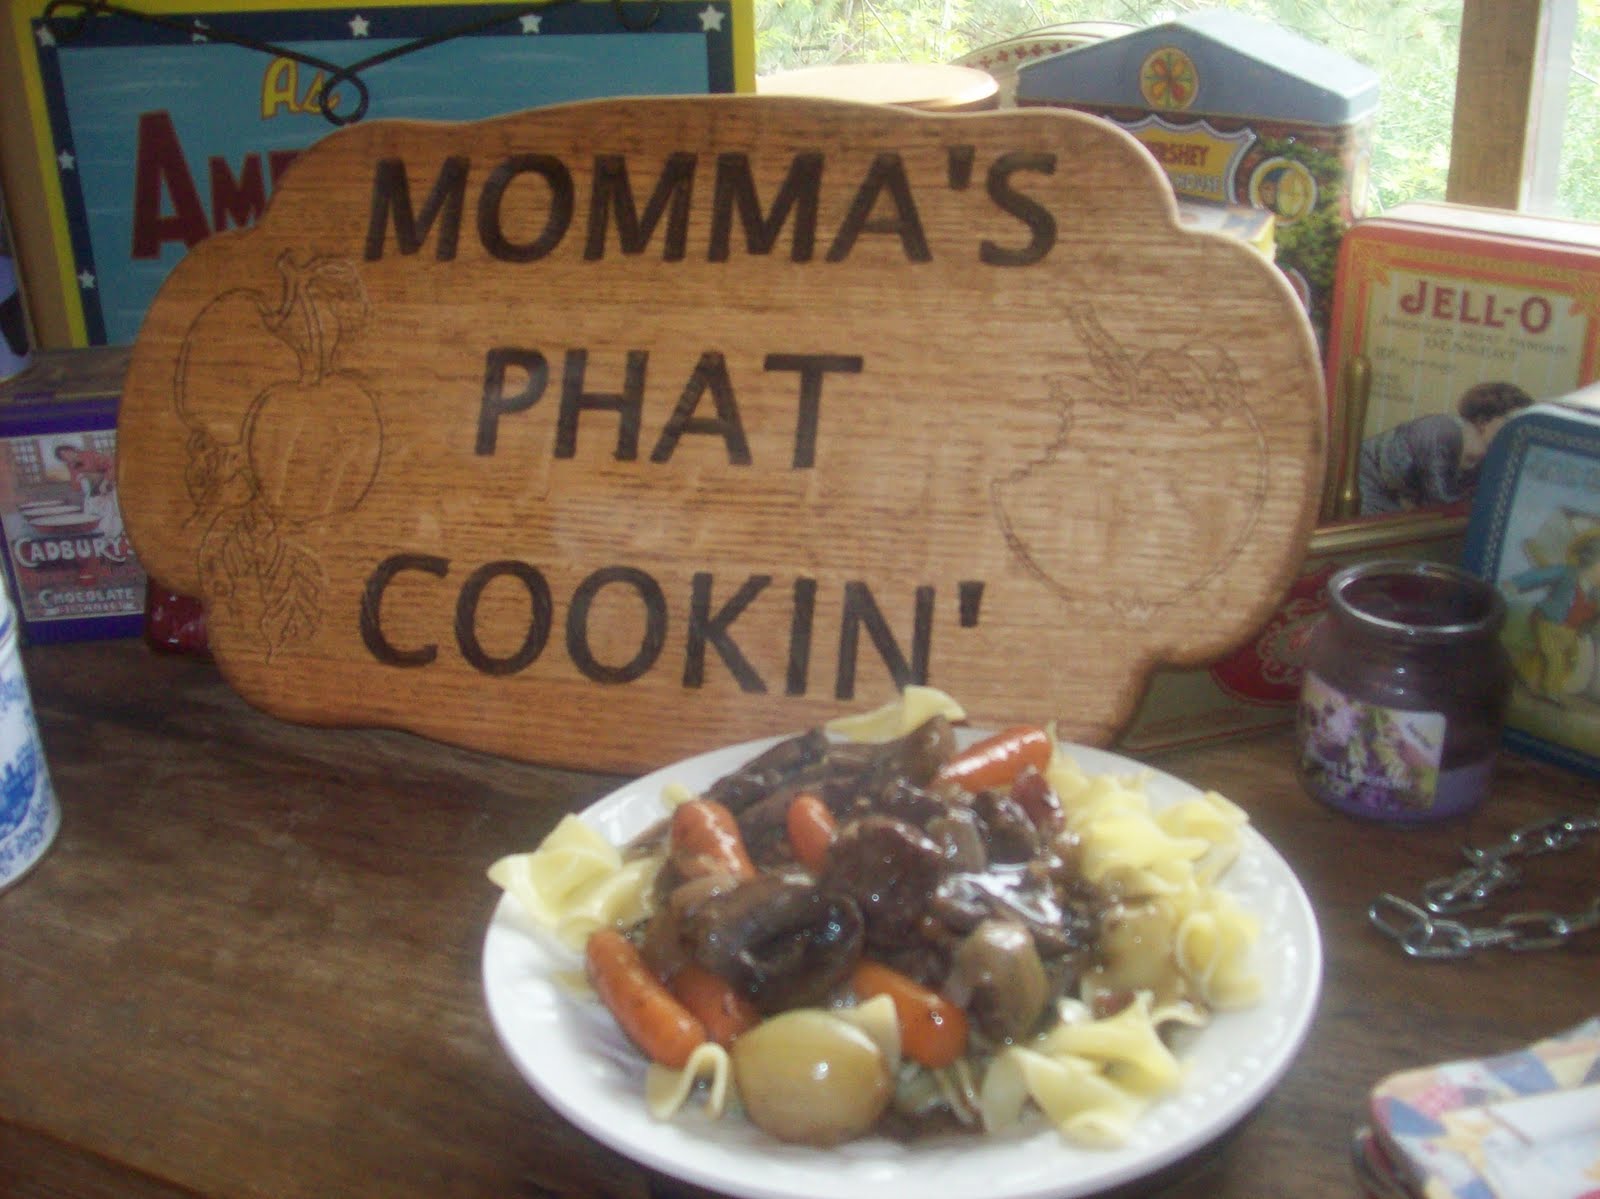
This is a recipe of my husband's beloved Grandma Kemp. I changed it, but just a little. No disrespect to Grandma, but her recipe calls for 1 lb. of butter. It's no secret that I LOVE, LOVE, LOVE BUTTER!!!! But I found that a full pound in this recipe was a bit too much for this luvah of buttah! I cut it back from 1 lb. to 1/4 of a lb. The recipe calls for long grain rice, but I have been known to use brown rice (as shown in the picture) when I want it to have a bit more texture.This is supposedly a "side dish", but I'm a tellin YOU! This is delicious enough to be a meal all on it's own. Enjoy my friends!!
Ingredients: 1/4 lb as in 1/2 cup as in ONE stick of butter 1 medium onion, chopped 1 tsp. ground oregano 1 cup fresh, sliced mushrooms 2 cups long grain uncooked rice 2 cups water 3 cans beef consomme
Melt butter in a heavy container. I like to use my dutch oven. Add chopped onion and cook until onions are clear. Add the rest of the ingredients and simmer 20 minutes. While this is simmering, you can preheat your oven to 350 degrees. After it has simmered for the 20 minutes, cover and bake in preheated oven for 1 hour.
I got this recipe from my sister-in-law Maria. She doesn't want to take credit for it because she didn't "invent" this recipe. That doesn't matter to me. She's the one who gave me the recipe and she will forever be the person I associate with this cookie. I used butter in place of shortening when I made these just to see if "real" butter would make a difference. It did, but not for the better. They were fine, but a little too close to the crispy side for me. If I'm going to have a home made cookie, then I expect it to be soft. Not crunchy like a cracker. Anyhow, that's just a matter of taste. If you want a more crispy cookie, then use the butter. If you want a cookie that is more like a dessert, then use shortening, at least in THIS recipe. One of the reasons this oatmeal cookie is a hit with me, is because it doesn't call for raisins. Another reason, it has coconut AND chocolate! For those who like raisins, you can add them, if you must!
Ingredients:
1 cup brown sugar 1 cup white sugar 1 cup shortening 1 tsp. vanilla 2 eggs 1 1/2 cups flour 1 tsp. baking soda 1 tsp. salt 2 Tbsp. water 1 cup coconut 3 cups oatmeal 2 cups chocolate chips
Preheat oven at 350 degrees. Mix brown and white sugars with shortening. Add eggs, and vanilla. In a separate bowl, combine dry ingredients together and add to mixture 1/2 cup at a time until well blended. Add chocolate chips and stir. Drop by teaspoon full and bake for 10-12 minutes. Store in airtight container.
Sorry folks, no picture with this one. I made it for dessert last night and had every intention of taking a picture before it was devoured, but I was too slow. You'll just have to trust me when I say this cake is DEEE-LISH!!! It always satisfies my chocolate craving and is Big Time moist! What makes it better, is that it's also SUPER easy!!
Directions:
Bake a devils food cake according to directions. However, BEFORE you pour the batter into a 9 x 13 in. pan or dish, stir in 1/2 to 3/4 cup of chocolate chips. Milk or semi-sweet, whichever you prefer. After the cake is done. Let it cool completely and using the handle end of a wooden spoon or dowel about the same size as a pencil, poke holes in the cake about and inch apart in rows that are about 1 to 2 inches apart. Mix a lg. box of chocolate instant pudding according to pkg. directions and the in a very thin stream, pour the pudding over the cake. This way, you'll make sure to fill every hole in the cake with the pudding. Refrigerate until ready to serve.
OK, so this isn't the ONLY way to bake a potato. But it's definitely MY favorite way! Growing up, my parents would get after me for not eating the skin of the baked potato. "That's where all the vitamins are!" they would say. Or my Dad's favorite, "Eat up! It'll put hair on your chest!" Now I love my parents very much, but they had no clue when it came to convincing me to eat certain foods. Have you EVER heard of a child that was persuaded to eat something because it had VITAMINS? And though I was a little bit of a tomboy at the time. I never have and never will WANT hair on my chest! As I got older, I would eat the skin of a baked potato only because I could hear my Mother saying in my head that I needed the extra vitamins. However, once I learned to prepare baked potatoes THIS WAY, I had truly become a baked potato, skin and all, convert! Hope you enjoy!
Preheat oven to 400 degrees. Scrub potatoes, dry and pierce each one several times with a fork. Rub the potatoes will olive oil (you can use other types, I just prefer olive oil), then roll each potato in coarse sea salt. Wrap each potato in foil and bake for 1 hour or until a knife can be easily inserted through the potato.
Have you ever had the craving for something but can't for the life of you figure out what IT is? Then you realize what IT is, and you experience the wonderful feeling afterwards of joy, contentment and sweet satisfaction! Now let me ask you this. Have you ever had a craving for something and when you finally figured out what IT is, you have to admit that you've never actually had it before? In fact, you've never even heard of it before! Well this was my predicament. I've always like bread pudding. Except of course when people insist on putting raisins in it. I also like sweet cornbread, but hate that it's so crumbly. I prefer food that doesn't require constant hand eye coordination in order to be eaten. So it came to me one day like someone had flipped on the light for me. WhatI wanted was a bread pudding, but made with sweet cornbread! I searched the internet and found many recipes for cornbread pudding, but none of them were sweet like a dessert. What's the saying? "If it is to be, it is up to me"? So I rolled up my sleeves and made my own recipe. The fact that I am posting it on my blog tells you that the end result was Sweet Success! The way I had to make this, I ended up with a half of a 9 x 13 in. pan of cornbread leftover. Not a problem in my family since they love cornbread. If you can find the Jiffy brand of yellow cake mix, then you can get by with using only 1 box of Jiffy cornbread mix. I had to use a regular size box of yellow cake mix. So this recipe will follow the way I made it. I hope you enjoy this as much as I do.
Ingredients/directions:
6-7 slices of thin sliced french bread that has been left out to dry a bit. Then crumble as fine as you prefer. Set aside and make the cornbread.
2 boxes Jiffy cornbread mix 1 box yellow cake mix 2 eggs 2/3 cup of milk 1 cup of water 1/3 cup of oil
Mix and pour into a 9 x 13 in. greased pan and bake in a preheated oven at 400 degrees for 25-30 minutes. Or until a knife inserted in the center comes out clean. cut in half and place the half you'll be using in the pudding on a cookie sheet, crumbling as you do so. This will help it to cool much faster.
Heat oven to 350 degrees. When cornbread crumbs are cool, add to dried bread crumbs in a large mixing bowl. To this, you will add:
4 eggs 3 cups half and half 1 tsp. vanilla 1 cup drained fruit cocktail
Mix well and pour into a greased (sprayed with Pam) 9 x 13 in. pan and bake for 35-40 minutes or until a knife inserted in center comes out clean.
Glaze:
1/2 cup powdered sugar 1/4 cup honey add just enough milk to make a thick glaze zest of one lemon
Cut pudding into squares and serve warm with glaze
*Note: If you want it extra sweet, then add in 1/3 cup of sugar.
While we lived in California, I got plumb spoiled with authentic Mexican food. Up until then, I didn't think I would ever like it. The extent of Mexican cuisine for me was the occasional trip to the Taco Bell drive thru. However it didn't take me long after moving to Cali to give it a try and I fell in love! Homemade tamales, carne asada and carnitas! There are a few Mexican restaurants here in Missoula, MT. I've been to one of them so far. Unfortunately, my experience was "eh, ok I guess". So I tried my hand at making carnitas myself. Some people roast the pork, but I read that for "authentic" carnitas, the pork should be deep fried in lard. It actually came out really yummy and not greasy at all. I was shocked! The only downside is that because you're frying, you have to stay close by the stove at all times. I think next time I'll roast it in the crock pot and see how it turns out. By the way, if you're going to make carnitas, then you MUST make roasted tomatillo sauce to go with it. The recipe I use is easy and SO delicious and fresh tasting! Enjoy!
Tomatillo Sauce/Salsa AKA “Green Sauce”
Ingredients
1 pound fresh tomatillos, husks removed
1 head garlic cloves, separated and peeled
2 to 3 fresh jalapeno peppers
1 bunch fresh cilantro
1/2 cup water, or as needed
salt and pepper to taste
Directions
Preheat the oven's broiler. Arrange the whole cloves of garlic, tomatillos, and jalapenos on a baking sheet. Place under the broiler, and cook for a few minutes. Remove garlic cloves first, as soon as they are toasted, you don't want them to have a bitter flavor. Continue to roast jalapenos and tomatillos until evenly charred, turning occasionally. Set aside to cool. Don't remove the charred parts of the tomatillos or the peppers. They add a really nice flavor.
Place peppers and tomatillos in a blender with the garlic and cilantro. Add a little water to the mixture if necessary to facilitate blending (I didn't need to add any water). Season with salt and pepper to taste. Refrigerate until serving.
Carnitas
1/4 cup fresh lime juice
1/2 tablespoon salt
2 1/2 pounds boneless pork shoulder
2 pounds lard
2 dozen corn tortillas
salt
Slice the pork into 3 inch slabs. Make sure they all end up roughly the same size, so they cook in the same amount of time.
Toss the pork into a large bowl and then add the lime juice and salt. Stir the pieces until well coated. Cover the bowl and refrigerate for an hour. Toss the pieces twice over the course of the hour.
Meanwhile, melt the lard in a large pot over medium heat.
When the hour is up, carefully add the pork to the pot. The lard should cover the pieces. After a few minutes, very large and lazy bubbles will pop to the surface. This is good. You don't want to have aggressive frying. Let cook on medium, flipping the pieces occasionally for even cooking, for about 2 hours or until cooked through. The meat should be very tender when pierced with a fork.
The meat should come out all nicely browned and golden.
Set them on a cutting board and let sit for 10 minutes or so.
Meanwhile, fill the bottom of another pot with about a 1/2 inch of water and bring to a boil. Wrap the tortillas in a towel and set in a steamer basket atop the boiling water. Cover the pot.
Cook for 1 minute. Then turn off the heat and let sit for 15 minutes or so.
Now it's time to get the meat ready. Slice it or shred it. Whichever you prefer.